Many chilling nights and a few ice storms plus some hard rains aptly describe the typical winter in Dallas. Your metal roof bears a lot of the brunt of the harsh winter. So how to prepare well ahead of time and let your roof continue protecting your property? Let’s find out.
Why is Winter Preparation for Your Metal Roof Important?
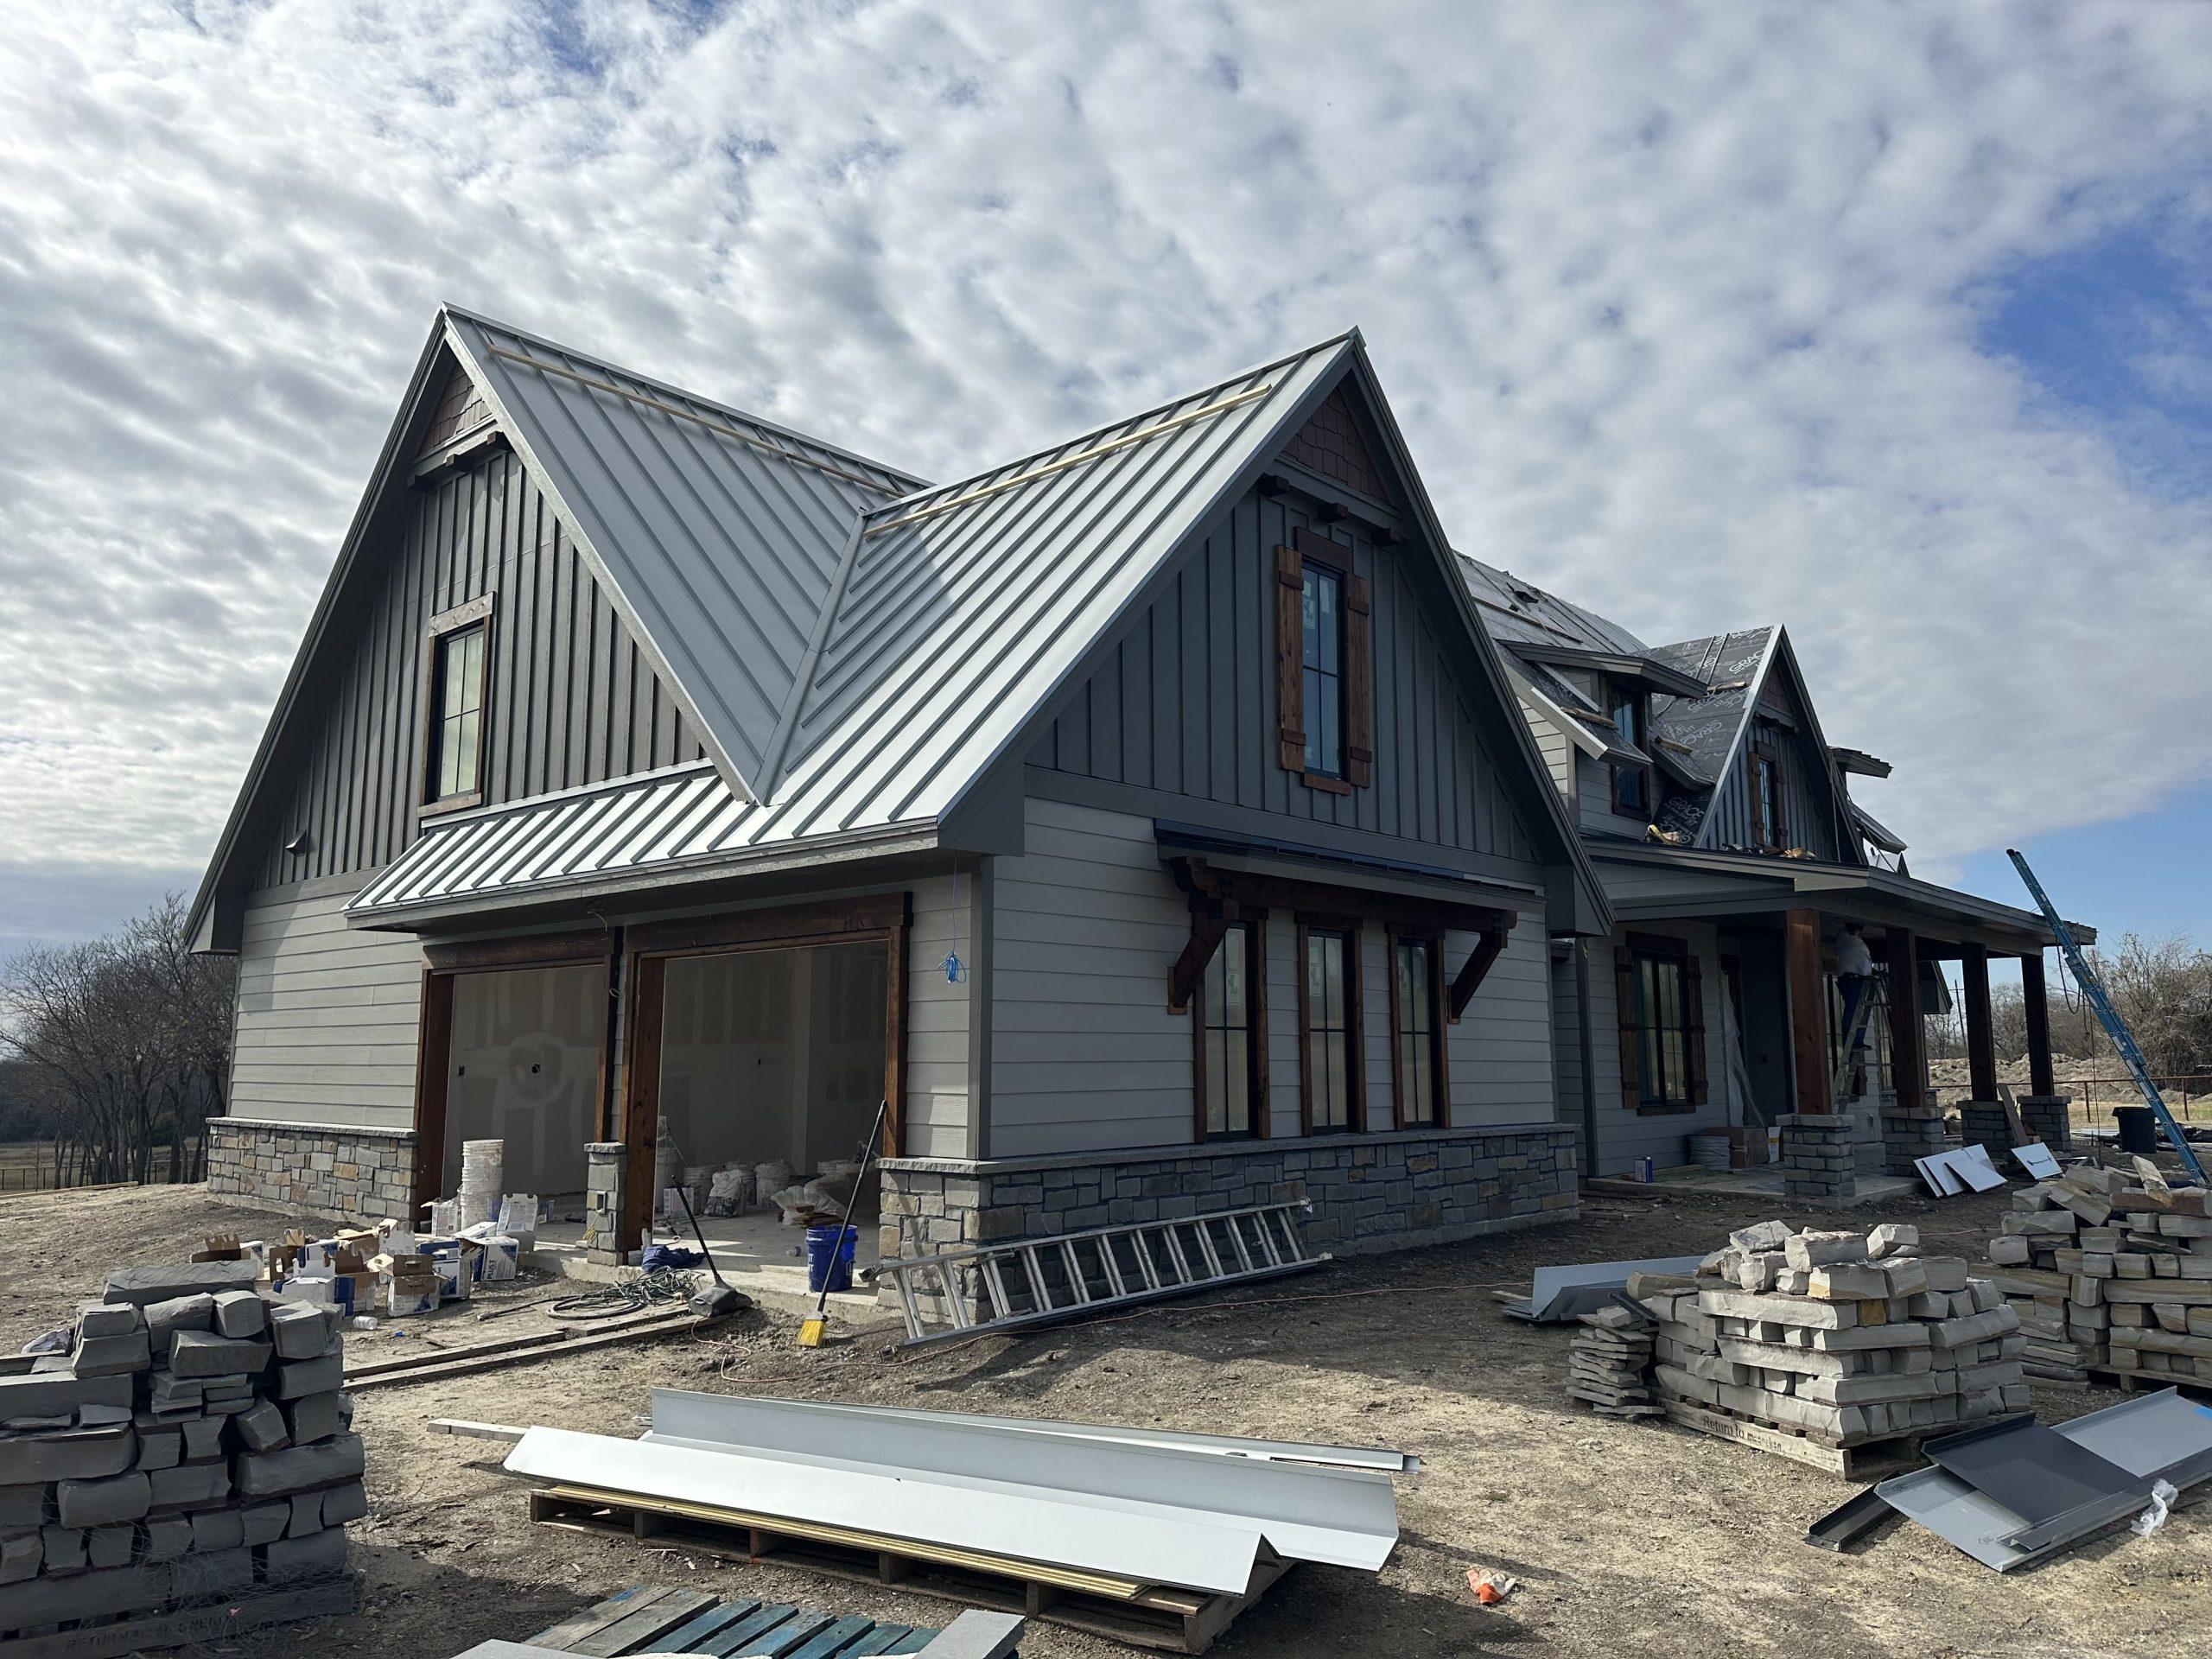
Metal roofs shed snow and ice more readily than asphalt or shingle systems. That advantage can turn troublesome if you don’t manage drainage, fasteners and thermal transitions properly. Freeze-thaw cycles, moisture infiltration, and shifts in temperature can worsen even small flaws over time. When water seeps in around flashing, fasteners, or seams, it may freeze and expand, leading to splits, leaks, or bending of panels.
This explains why you should mandatorily do these prep steps before winter comes.
Summary: 5 Steps to Prepare Your Metal Roof for Winter
| Steps | Action Plan | Purpose / Reasons for Performance |
| 1. Check your roof | Check panels, fasteners, and seams for corrosion, lifting or gaps. | Catch minor problems before they cause winter leaks. |
| 2. Fasten loose screws | Secure loose screws, replace worn washers, re-apply sealant. | Keep moisture from entering seams and bursting if you miss a freeze cycle during the day. |
| 3. Check insulation | Inspect your attic insulation and airflow to balance heat and moisture. | Aid in reducing the condensation problem and its resulting meltwater streaks. |
| 4. Trim overhanging tree branches | Cut back any limbs that touch or hang over the roof. | Protect the panels from scratches, dents, and a buildup of debris that may damage them over time. |
| 5. Servicing the roof | Have a local Dallas metal roofing contractor actually inspect and service your system. | Ensure your roof remains soundly structured and capable of serving you for years on end. |
Inspection: Starting at the Top
a. Visually walk the roof’s perimeter
From the ground or other safe vantage point, go over your roof looking for dents, places where panels are loose or sections that seem to lean. Look closely at lifting seams and edges pulling away from flashing.
b. Safely put on your climbing gear for a closer look
If you can get on the roof safely (or have a professional do so), check all panels, fasteners and seams at close range. Use a magnetic driver to see whether screws are still tight, and look for washers that are worn-out or corroding.
c. Flashings, Valleys and Penetrations
Pay special attention to roof-to-wall flashings, chimney or vent collars, skylights, and valleys. These are all places where water frequently gets in. Look over the caulking and see that the edges stay close.
Make sure that fasteners and seams are securely tightened.
a. Test each screw or bolt
There is no need for excessive force when screwing into gaskets with gentler adjustment and a well-placed wrench in the process. New sealants can be used instead of those weakened over time if needed.
b. Proper Replacement
Replace any missing fasteners with approved manufacturer parts.
c. Correct alignment
You should also realign seams or lapped edges that don’t meet up correctly so that everything fits as it should.
d. Sealants
If cracks in a metal surface appear, make sure to use sealants. You may need a temperature-rated grade of flexibility that adheres to metal.
Roofing underlayment, insulation and ventilation
The exterior of the roof may produce the most complaints, yet the interior counts too.
a. Check insulation above the ceiling / in attic spaces
Assess for any serious breaks in integrity hardly worth repair–they can lead to snow melt or ice damming near eaves.
b. Proper Ventilation
Be sure adequate ventilation exists so that neither condensation gathers on deck of the roof or inside your panels. In short, a little circulation is needed.
c. Check Underlayment
Check for spots on underlayment or vapor barrier (if accessible enough) where water might getting in. Replace any layers that have deteriorated.
Trim overhanging branches & clear away debris
Trees extending over your home may expose it to a double danger. Limbs could scrape or dent panels in high winds, heavy ice or storms. Leaves, seeds and other debris collect in seams or gutters. Sap from trimmed limbs also stains the roof edge yellow. Set trimmers well back from the house at least several feet above the roof line. Regular brushing off loose chunks of stuff.
Document Condition & Maintenance Before Winter
Before the coldest months start:
- Take detailed photos dated with a time stamp for all roof surfaces, flashing, fasteners and critical junctions.
- Write down your observations-any replacements you’ve made and things which semi-professional service is needed for.
- Make a log of the work you do to prepare the roof for the winter.
- Arrange for professional roof inspection before the worst weather arrives. A metal roofing contractor in Dallas may detect flaws that you miss.
Final thoughts
A metal roof itself creates a durable structural advantage: However, even this most heavy-duty roof is still seasonal care for the preservation of the system. Use this guide to prepare well beforehand and protect your roof. Connect with a reliable expert who specializes in roof repair and replacement in Dallas.
FAQs
1. How often should I inspect my metal roof in Dallas?
At least twice a year, preferably by November and March. Regular checks help prevent small problems from growing into larger ones.
2. Can a metal roof handle ice and sleet in North Texas?
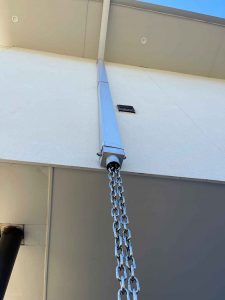
Metal roofs certainly cope well against snow and cold, but you should keep your guttering clean to avoid ice buildup.
3. Do I need to lay some special coating down before winter?
If the roof finish looks dull or worn off, a professional-grade protective coating can provide corrosion resistance and reflectivity. A metal roof contractor with expertise in roof replacement in Dallas will evaluate your roof’s condition before applying any product.